Professional Starlink Installation

A complete Starlink installation covers far more than clipping the dish to its stand. We survey the property for a clear view of the sky, choose a mounting position that will still be sound in ten winters, route the cable neatly and weather-tight, and configure the router so the connection reaches the rooms that matter.
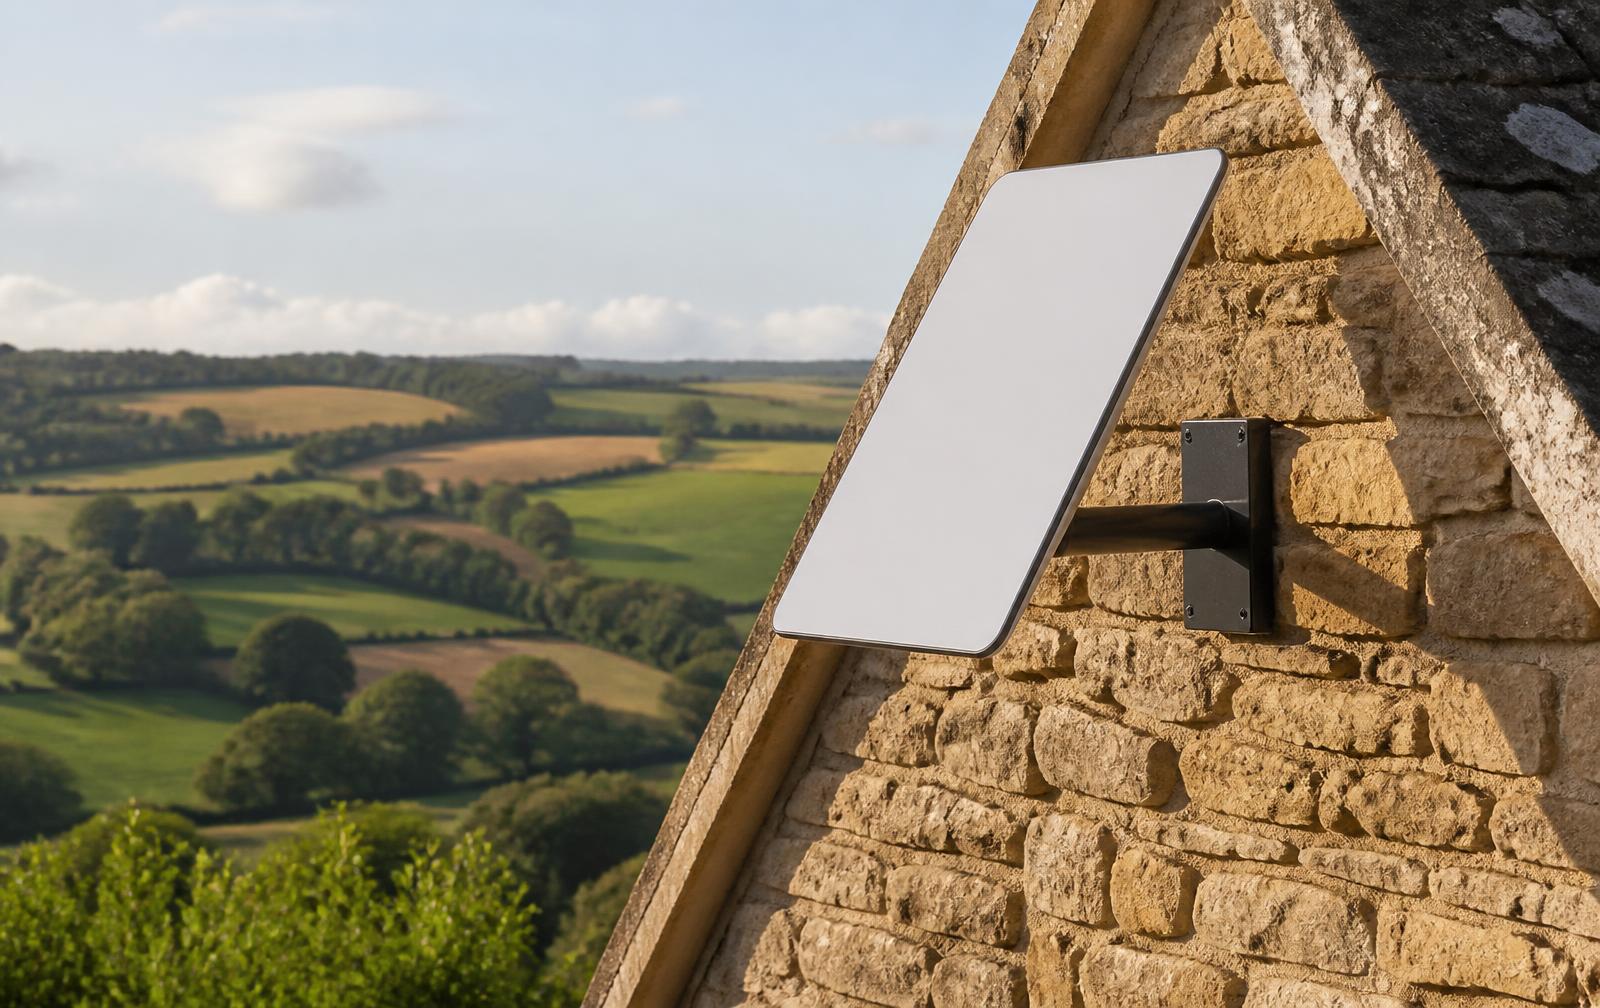
Starlink dish mounted on the stone gable of a Cotswold cottage

What a full installation includes

Every installation starts with an obstruction assessment. Starlink needs an unobstructed view of a wide arc of sky, and on rural UK properties that view is usually interrupted by mature trees, chimney stacks, neighbouring barns or the slope of the land itself. We work out where the dish can see cleanly, then design the mount and cable run around that position.

  • Obstruction and sky-view assessment before anything is drilled
  • Roof, wall, gable, pole or non-penetrating mount selected for the building
  • Correct fixings for stone, brick, render, slate, tile or timber
  • Weatherproofed cable entry with drip loops and sealed penetrations
  • Router positioning and initial WiFi configuration
  • Speed and obstruction testing before we leave site

Problems professional installation solves

Most of the calls we take about poor Starlink performance are not hardware faults. They are installation problems: a dish sited too low so it clips a treeline in winter, a cable pinched under a window frame, a router left in a thick-walled utility room at the far end of the house, or a mount fixed into soft render that has begun to work loose.

Getting the position right first time avoids drilling a listed wall twice, avoids water tracking into the fabric of the building, and avoids the drop-outs that make video calls unusable.

Who we install for

We work across period cottages, farmhouses, converted barns, modern detached homes, estate buildings, holiday lets, glamping sites, offices and construction compounds. Older rural buildings tend to need the most thought: thick stone walls, no obvious cable route, and roofs where the only clear sky is on the opposite side of the ridge from the router.

Starlink Installation FAQs

Do I need my Starlink kit before booking an installation?
It helps, but it is not essential. Many customers book while the kit is on order and we schedule the visit for after delivery. Tell us the status when you request a quote and we will plan around it.
Do I need a professional to install Starlink?
Not always. If a ground stand in a clear garden works for you, self-installation is straightforward. Professional installation makes sense when the dish needs to go on a roof, gable or pole, when cabling has to pass through a solid wall, or when the property needs proper WiFi coverage afterwards.
How long does an installation take?
A straightforward wall or gable mount with a short cable run is usually a half-day visit. Complex roof work, long cable runs, pole installations or whole-property WiFi can take a full day.
Will you make good after drilling?
Yes. Penetrations are sealed and finished, cable is clipped or run in trunking on agreed lines, and we talk through the route with you before starting.

Request a Quote

Send us your postcode, property details and a few photos and we'll come back to you with an installation quote.

Help us quote accurately: the outside of the property, the proposed dish location, the roof or eaves, the router location and any existing aerial or satellite mounts.

We use your details only to respond to this installation enquiry. See our privacy policy for how your information is handled.

Ready to book your Starlink installation?

Send your postcode and photos for a quote.